

Instructions
Diabetes HBA1C Collection Kit
instructional video
Prepare your testing session
1 - In Preparation
Introduction
00:00What you will need
00:162 - Specimen Collection
Prepare to collect
00:55Using your kit
01:303 - Send your kit back to us
Preparing for return
03:11Ready for pickup
04:00Closing
04:30TRANSCRIPT
Introduction
00:00Hello and welcome.
This video will guide you through the proper technique for your dried blood spot self-collection.
Please ensure you watch this video in full and read the provided instructions in your collection kit before proceeding with your collection.
What you will need
00:16To begin, login or register on the Switch Health Patient portal.
Find a clean area to proceed with your collection.
You should set aside 10 to 15 minutes to perform your collection.
Prepare your space by removing all contents of your kit, each dried blood spot kit contains a Switch Health Instruction Manual, a Switch Health Quick Start Guide, a Switch Health specimen label, 2 lancets, a dry blood spot card, 2 alcohol prep pads, 2 bandages, a gauze pad, a sealable bag, a desiccant pack and a Purolator return ship bag.
Prepare to collect
00:55For a good collection ensure you are well hydrated and that your hands are warm and clean as this will increase blood flow.
Other activities such as exercising or swinging your arms back and forth will increase blood flow and provide for a better collection.
Carefully unfold the dried blood spot card.
Do not touch the portion of the card containing collection circles.
When you are ready, select a finger for your puncture site.
We recommend choosing your ring finger or your middle finger on your non dominant hand for your collection.
Using your kit
01:30The best site for the puncture is just off center of the finger pad.
Note you may require two fingers and two lancets to ensure a good collection.
Disinfect the puncture site with the provided alcohol wipes.
Be mindful that your collection needs to be carried out in roughly a 90 second time span before clotting begins on the puncture site and a new puncture site must be selected.
Once the collection site is warm, dry and disinfected, twist off the Lancet cap.
Please note that each Lancet is only usable for one puncture.
After The Lancet has been used, it cannot be used again.
Press The Lancet firmly against clean collection site unselected finger until an audible click is heard.
This will create a small puncture on the collection site from which to extract the blood sample.
If a blood drop isn't forming naturally, coax circulation by using your index finger and thumb from your opposite hand and gently squeeze from base of finger to the puncture site.
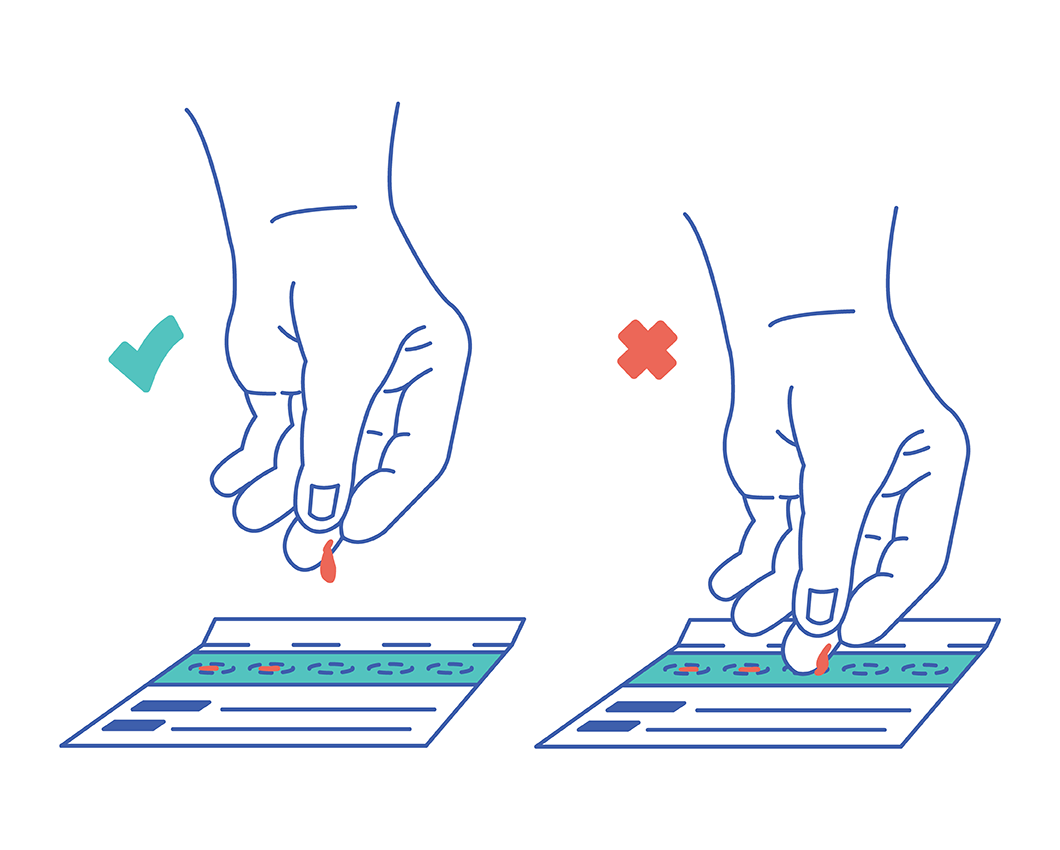
Wipe away the first blood drop with a sterile cotton and set aside to discard as the second drop falls, align the collection site with one of the circles on the card and allow the drop to fall.
Repeat this for each circle.
Do not touch your finger on the card as this can cause the collection to be contaminated.
Be sure to fill as much of the circle as possible with one drop of blood.
Repeat this process, filling at least four of the circles.
Each dot should contain only one drop of blood.
Do not drip an additional drop on top of an already deposited drop.
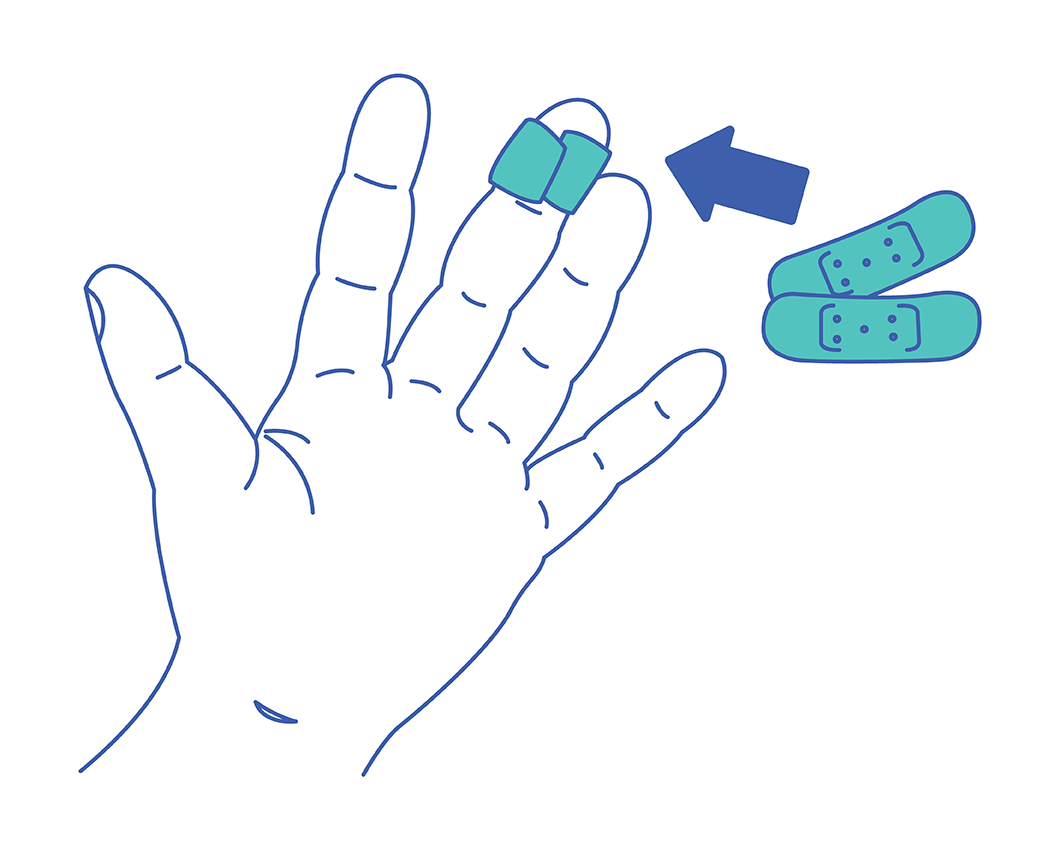
Bandage the collection site with provided materials.
Preparing for return
03:11Carefully label the Dried Blood Spot card with the provided serialized label, complete with your first and last name and date of birth in block letters with a blue or black pen.
Then place over the labeling area on the Dried Blood Spot card.
Once complete, set the card down on a flat surface and allow the card to air dry for a minimum of two hours before packaging.
Do not touch the card or the blood drops.
Do not put the card in direct sunlight.
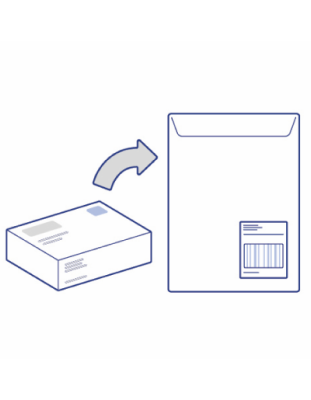
Once at least two hours have passed, fold the card up and slide the flap into the tap.
Place the card inside the sealable bag with the desiccant pack.
Ensure the Mylar sealable bag is closed.
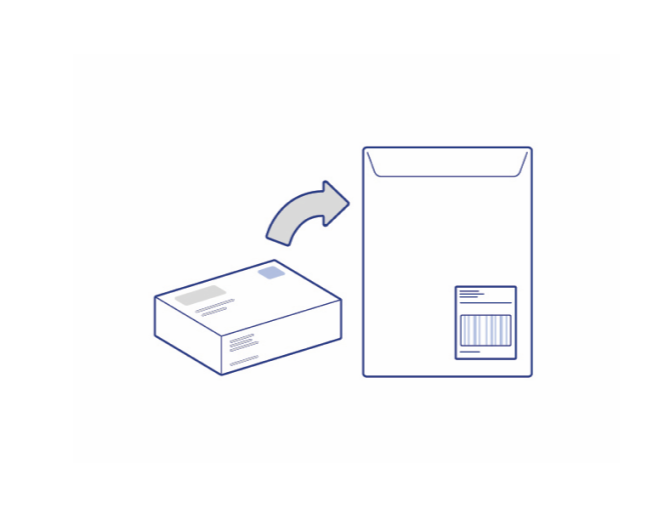
Tightly place the sealable bag into the Switch Health box.
Ready for pickup
04:00Place the box into the provided Purolator return bag. Follow the prompts on the Patient portal to select a return shipping method while awaiting pickup or drop off at your selected Dropbox.
Please keep the return shipment at room temperature in a dry location. All shipments should be sent back to the lab within a few days. We will send you an e-mail and an SMS text notification once your results are ready.
Closing
04:30At Switch Health, we pride ourselves on being user first.
Our support team is available Monday-Sunday, 10AM-6PM EST.
You can reach us by phone at 1-888-966-6531 or email us at contact@switchhealth.ca.
Thank you for choosing Switch Health.
how it works
It’s quite simple, really.
Our team of healthcare experts have built a quick and easy-to-use test kit so that you can have peace of mind - wherever you are.
step one
Connect with us to get started
Log in or create your Switch Health account.
Tap “Activate test” to start your test session. You will be guided through the following steps.
STEP TWO
Select puncture site
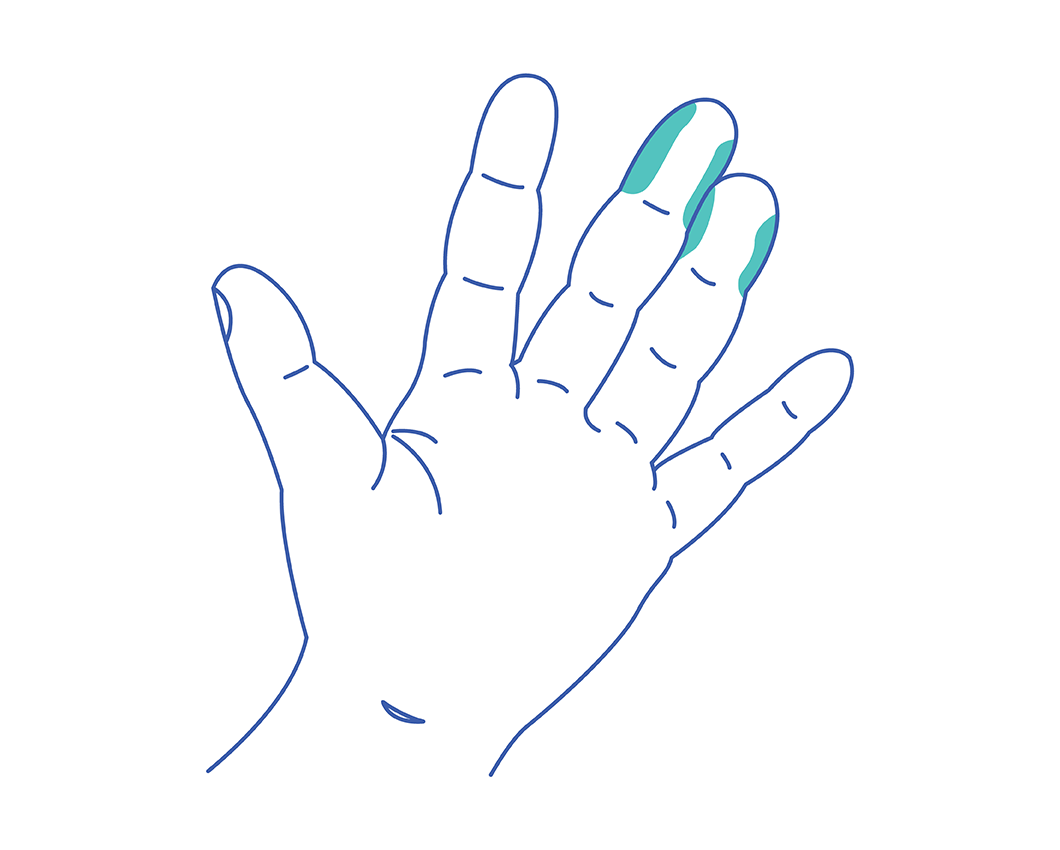
Select a finger for your puncture site. We recommend you choose your ring finger or middle finger on your non-dominant hand for your puncture site. The best site for the puncture is just off center of the finger pad. Note, you may require two fingers to ensure a good collection. Disinfect the puncture site with the provided alcohol wipes.

STEP THREE
Collect blood sample
Press lancet firmly against clean collection site on selected finger until an audible "click" is heard. This will create a small puncture on the collection site from which to collect the blood sample.

step four
Deposit blood drops
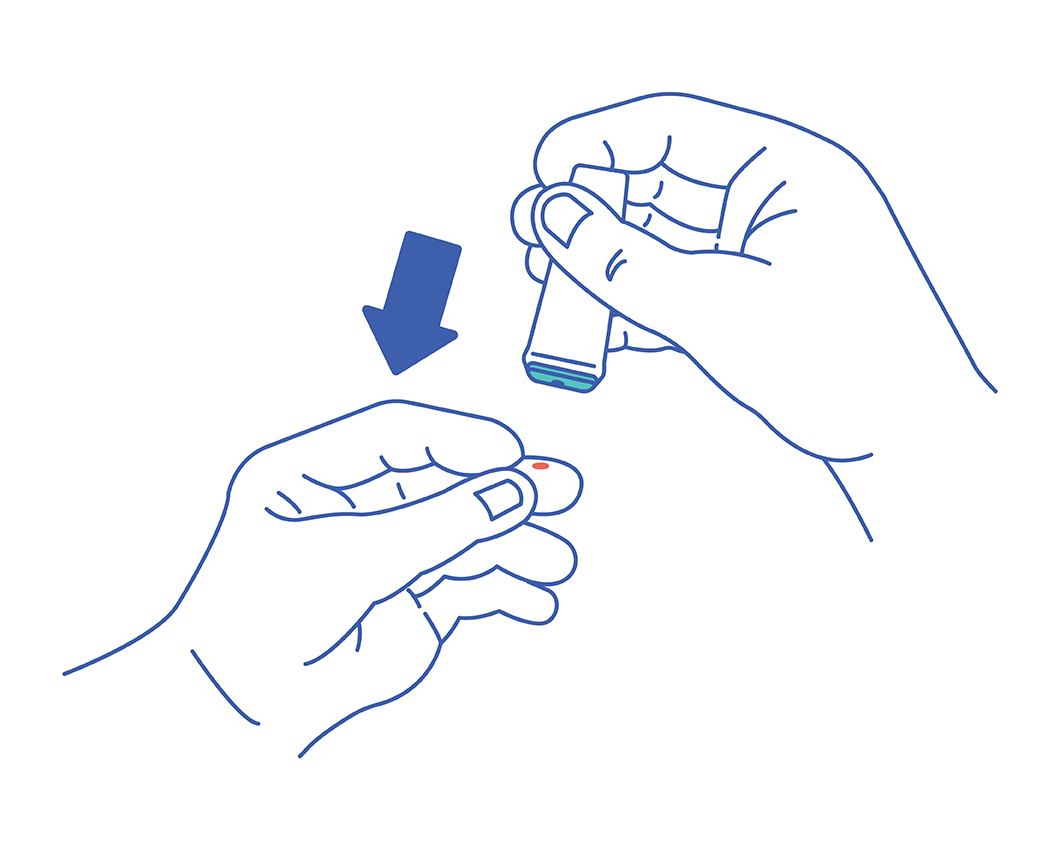
As the second drop forms, align the collection site with one of the circles on the card and allow the drop to fall. Repeat this for each circle.Do NOT touch your finger on the card as this can cause the collection to be contaminated. Be sure to fill as much of the circle as possible with one drop of blood.

step five
Bandage finger
Bandage the collection site(s) with provided bandage(s).

step six
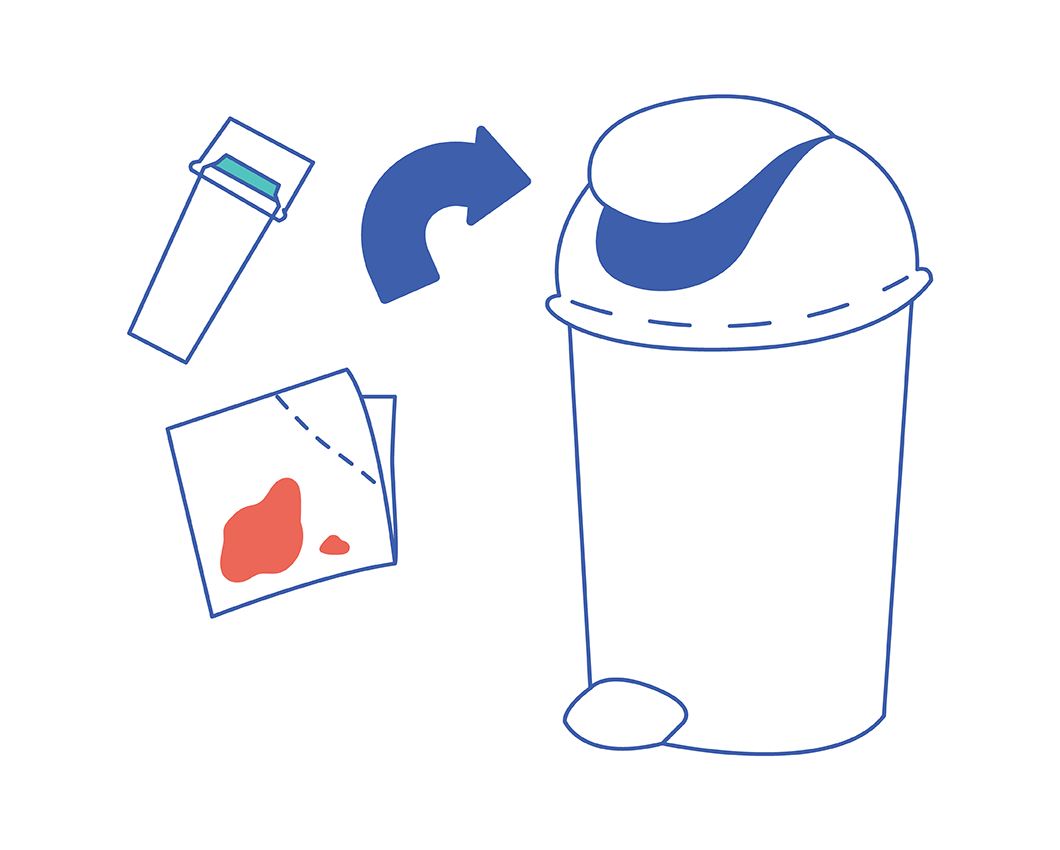
Discard materials
Discard the used lancet(s) and sponge as regular garbage

STEP seven
Prepare your kit for return
Follow the provided steps on how to securely pack your specimen for transport back to us.
step eight
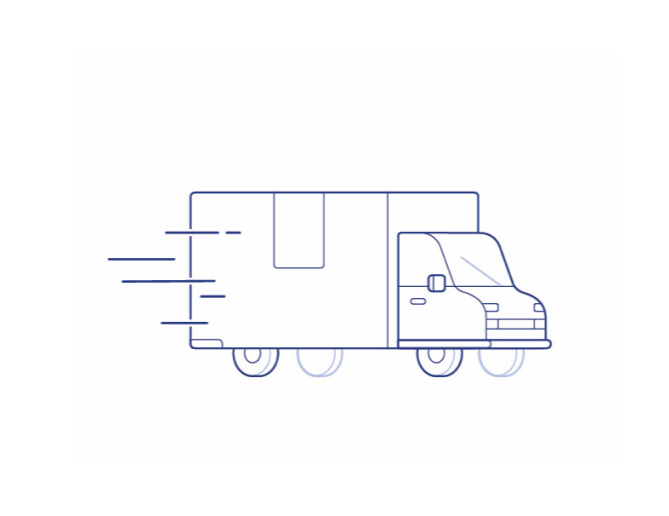
Return your kit for processing
Select from the available return methods – all options are free! Please return your kit to us as soon as possible.

step nine
Review your results
We’ll notify you when your results are available. Log into your Switch Health account where follow-up care options will be tailored to you.
Questions? We’ve got answers.
All Switch Health employees are based in Canada. We offer great support to our diverse Canadian population in over 25 different languages.
Please follow this link for our privacy policy.
Once your test kit has been paid for in full, you will receive a receipt on your registered email. If you do not receive a receipt, please email us atcontact@switchhealth.ca.
Our phone lines are open MON-SUN 10AM - 6PM EST. You can reach us toll-free at1 (888) 966-6531.
Yes. Patient privacy is of the utmost importance to Switch Health. We are pleased to provide accessible, fast and private test results through our PHIPA compliant portal. All patient information and test results are strictly confidential. In the case of a positive test result, Public Health will be notified for contact tracing and reporting purposes.
Refund policy for kitsWe do not offer refunds on Test and Collection Kits once shipped. Please contact our customer experience team in the event of a device malfunction or delayed/missing shipments at1-888-966-6531.
We accept all major credit cards.


